
Word Practice 1

Prefer to watch and learn? Check out this video tutorial.
Complete the following Practice Activity and submit your completed project.
For our first assignment in Word, we will create a flyer to be printed or posted online. The flyer will advertise a volunteer opportunity for Health Sciences students at Paradise Valley Community College. Key skills in this practice are inserting text and pictures, textboxes, formatting text and footers.
- Start Word. Click Blank Document.
- Show formatting marks by navigating to the Home Tab, Paragraph Group, and selecting the Show/Hide icon. This is a Toggle Button. This means it has two modes, on and off. To turn it on, click it once, to turn it off, click it again.
- Show the ruler by navigating to the View tab, Show Group, and selecting the Ruler Check Box. A Check Box is a type of input control. A checkboxes value is only included in the submitted data if the checkbox is currently checked. In other words, when the box is checked, the value is included.
- Navigate to the File Tab to enter Backstage View. In backstage view, select File, then Save As. Click the Browse button. In the Save As dialog box, navigate to your file structure from the previous chapter, then open the Word folder. In the Name field, type Yourlastname_Yourfirstname_Word_Practice_1 as the file name, and then save.
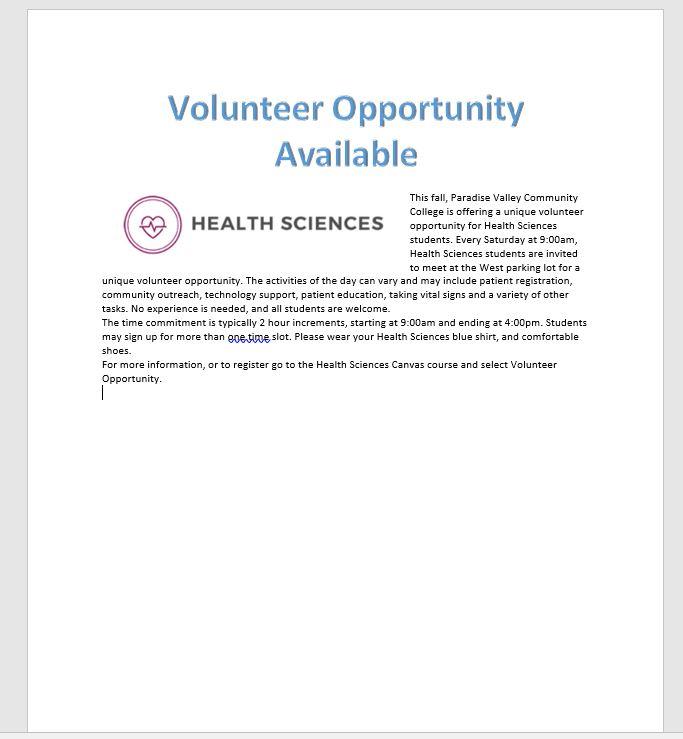
- Type Volunteer Opportunity Available and press Enter twice.
- Type the following text: This fall, Paradise Valley Community College is offering a unique volunteer opportunity for Health Sciences students. Press spacebar.
- Navigate to the Insert Tab, Text group, and choose the Object arrow. Then choose text from file. In the Insert File dialog box, browse to the location where you saved the files from Brightspace. Select the file Text_Word_Practice1. Click OK. The text will automatically update your document.
- Select all of the text in the document. On the Home Tab, Font Group, ensure the Font is Calibri and font size is 12.
- Select the title, Volunteer Opportunity Available, including the paragraph mark. On the Home Tab, Font Group, select the arrow next to Text Effects and Topography. In the third row, third column, apply the Fill: Blue, Accent color 5; Outline: White, Background color 1; Hard Shadow: Blue, color 5 text effect.
- With the title still selected, change the font size to 36.
- On the Home Tab, Paragraph Group, choose Center to align the title centered on the page.
- On the Home Tab, Font Group, change the font color to Blue, Accent 1 for the title.
- With the title still selected, on the Home Tab, in the Font Group, choose the arrow next to the Text Effect and Typography icon. Apply a Shadow and under Inner, click Inside: Right text effect.
- Position the insertion point at the beginning of the paragraph that begins with This Fall.
- On the Insert tab, Illustrations group, choose Pictures. Navigate to your saved files from Brightspace and choose the HSPicture_Word_Practice1 image.
- Be sure the picture is selected, and apply the Square text wrapping option. The Layout Options icon will appear to the right side of the image, click and look for “with text wrapping” options and select Square.
- Using the sizing handle at the lower right hand corner of the picture, drag up and to the left until the bottom of the graphic is aligned at approximately 3.5 inches on the vertical ruler (top of page, below ribbon).
- Click Undo to return the picture to its original size. The Undo icon is located in the quick access toolbar in the upper left hand corner.
- On the Picture Tools, Format tab, in the size group, change the shape width to 4”.
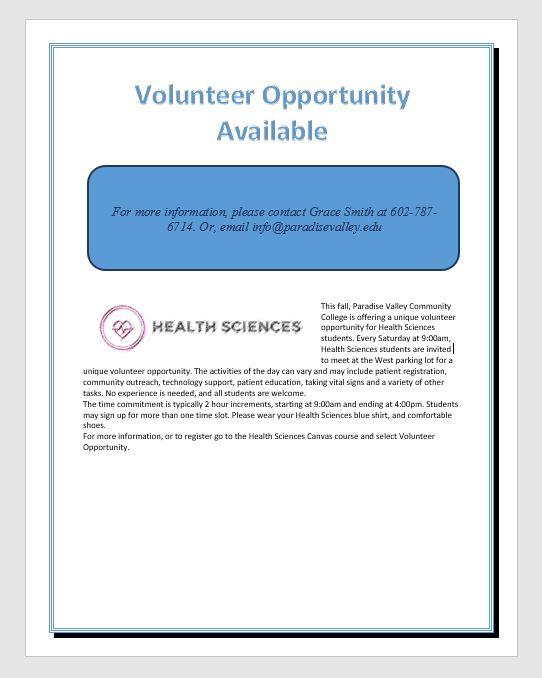
- On the Quick Access Toolbar, click the Save icon. Then, compare your document to the image below.
- Ensure the picture is still selected. Display the Layout dialog box by selecting the Layout Options shortcut menu, then choose see more. In the Layout dialog box for the picture, make sure the Position tab is selected.
- Set the horizontal alignment to Left, relative to Margin.
- Set the vertical alignment to Top, relative to Line. Select OK to close the dialog box.
- With the picture selected, apply the Drop Shadow rectangle picture effect. This is on the Picture Tools Format Tab, Picture Styles group, under Picture Effects, Soft Edges.
- With the picture selected, on the Picture Tools, Format tab, in the Adjust Group choose the Artistic Effects arrow. Apply the Pastels Smooth artistic effect. Deselect the picture.
- On the Design Tab, in the Page Background Group, select Page Borders. Add a page border selecting the:
-
- Shadow setting
- Triple Lines style
- Blue, Accent 1 color
- Whole document
- Position the insertion pointer at the blank paragraph below the title and press Enter six times.
- On the Insert Tab, in the Illustrations group, choose Shapes. Insert a Rounded Corners Rectangle shape at the left margin until approximately 1.5 inches (width) on the vertical ruler. Click once to insert a 1-inch by 1-inch Rounded Rectangle, or use the drag and drop feature.
- On the Drawing Tools, Shape Format Tab in the Size group, Change the shape height to approximately 1.8 and the shape width to 6.4.
- Select the Rectangle shape and type the following text: For more information, please contact Grace Smith at 602-787-6714. Or, email info@nscc.ca
- Italicize the text, change the font to Calibri and increase the font size to 16. Deselect the text.
- Select the same text as above and explore the mini-toolbar, by clicking the Font Color button arrow and under Theme Colors, click on Blue, Accent 5, Darker 50%.
- With the shape still selected, go to the Drawing Tools, Format Toolbar, the Shape Styles Group. Select the arrow next to Shape Outline and under Theme Colors, click on Blue, Accent 5, Darker 50%. Change the weight to 3pt.
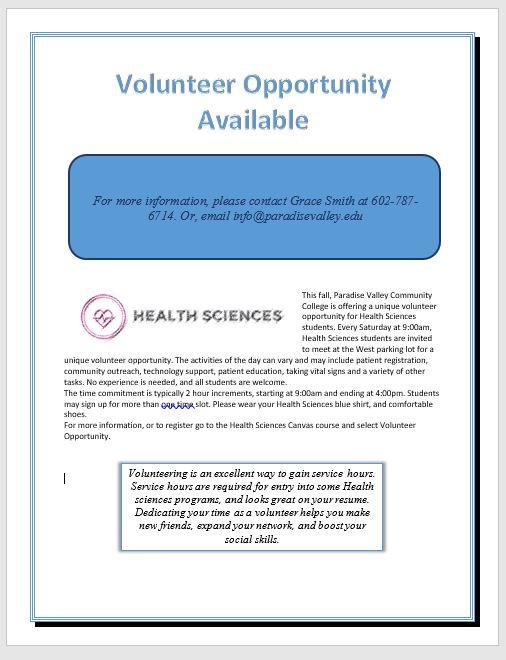
Compare your document to the image below.
- Using the keyboard shortcut CTRL+END , navigate to the end of your document. If your keyboard does not have these keys, click to put your insertion point after the period on opportunity. Hit enter 3 times.
- Your insertion point should be approximately at the 8” mark on the horizontal ruler. On the Insert tab, in the text group, click the arrow next to the textbox and draw a text box at approximately the 1”mark on the vertical ruler. Draw a text box by dragging down to create a text box that is approximately 1.5 inches high by 4.5 inches wide. Type the following in the text box: Volunteering is an excellent way to gain service hours. Service hours are required for entry into some Health sciences programs, and looks great on your resume. Dedicating your time as a volunteer helps you make new friends, expand your network, and boost your social skills.
- Select and Drag the textbox, by clicking and holding on the outer edge, until the horizontal green alignment guide displays above the first blank paragraph mark and the vertical green alignment guide displays in the center of the page. To be more precise:
-
- In the Layout dialog box on the Position Tab for the text box set the horizontal alignment to Centered, relative to Margin.
- Set the Vertical alignment by typing .25 in the Absolute position box and selecting Below Paragraph.
- On the Size tab, type 1.5 in the Absolute Height box and 4.5 in the Absolute Width box. Then, click OK.
- With the textbox still selected, on the Drawing Tools, Shape Format Tab, in the Shape Styles group Apply the Colored Outline – Blue, Accent 1 shape style.
- Under Shape Effects, apply the Offset Center outer shadow shape effect to the text box.
- Select the text in the text box, change the font size to 13 italics, and center the text.
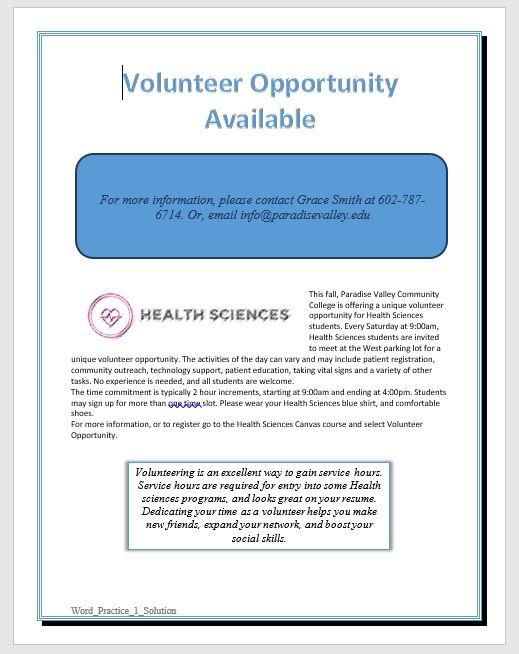
- Save the document. Compare your document to the image below.
- On the Insert tab, in the Header & Footer Group, choose Edit Footer. On the Header & Footer Design Toolbar, in the Insert Group, choose Document Info. Use Document Info to insert the file name in the footer. Select the File Name Field. The File Name should display in the lower right hand footer of the document. Do not type it in, rather use the Document Info Field.
- In Backstage view, click “Info” on the right side of the screen above “save a Copy”. Click on Show All Properties, and add the following properties:
-
- In the Tags box: trainee, flyer, internship
- In the Subject box: Your course name and course code (Business Computer Applications, COMP 1050)
- In the Author box: Your first and last name (Note: your name may already appear here, if so leave as is)
- Turn off formatting marks. As a reminder, formatting marks are on the Home Tab, Paragraph Group.
- Take a moment to compare your document to the image below and make any modification based on what you have learned.
- Zoom in to view the document in a larger size. Zoom is located in the lower right hand corner of the Word window.
- Save again, and ensure you have your file saved in a safe location. Take note of that location because you will need to find your file to upload it for grading.
- Upload your file to the appropriate assignment box on Brightspace.
Media Attributions
- Practice It Icon by Jessica Parsons is licensed under a CC BY (Attribution) license
A starting point for creating a new document in Microsoft Word
Characters that display on the screen but do not print, indicating where the Enter key, the Spacebar, and Tab key were pressed, also called non printing characters
A button that can be turned on and off by clicking it once to turn on, and clicking again to turn it off
A small box which can be clicked to indicate a check is turned on or off to indicate an on or off response
Allows the user specify the drive, directory, and name of a file to save their file
Decorative formats, such as shadowed or colors that make text stand out
Images or graphics that are stored locally on a computer or flash drive and can be uploaded to a document to add visual interest
The manner in which text displays around an object
Located above the Ribbon (top-left) and provides access to commonly used features and commands, such as Save and Undo/Redo, and is customizable
Picture formatting options that control the manner in which text wraps around a picture or other object
Formats applied to images that make pictures resemble sketches or paintings
A decorative border that appears outside the margins on each page and can be solid, dashed, or an artistic style
Lines, arrows, starts, banners, ovals, rectangles, and other basic shapes with which you can illustrate an idea, a process or a workflow
Appears whenever you right-click text in Word, Excel or PowerPoint and provides a quick-access version of the Font group on the Home tab, plus a few extra buttons from other groups
Allows you to apply preset colors and effects to quickly change the appearance of your shape
Allows you to change the outline color, weight (thickness), and style of a the outline surrounding a shape
One or more keys used to perform a menu function or other common functions
A moveable, resizable container for text or graphics
A green vertical or horizontal line that displays when you are moving or sizing an object to assist with proper placement
A grouping of coordinating effects that can be applied to a shape including shadows, glows, reflections, soft edges, bevels, and three-dimensional (3-D) rotations
Placeholders that store and display data, and can perform simple tasks like returning the page number or current date and time
Any word, phrase, or number string related to the file that may help you locate the file later
