
Adding Images and Files
Images
Upload and insert image files into your book.
- Upload the image file to the Media Library.
- Images must be one of the following: JPG, PNG, or GIF.
- Once the image is uploaded it becomes available in the book’s Media Library.
Image Upload
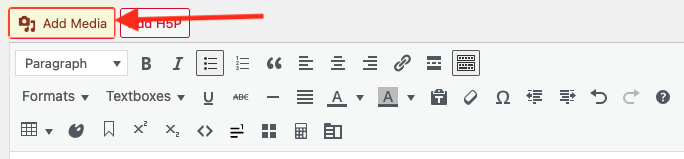
- Got to Add Media
- Select upload
- Drag and drop your image or navigate to the file and upload.
- You can select multiple image files at the same time.
Add to Your Chapter
- Place your cursor where you want the image to be placed.
- Got to Add Media
- Select Media Library
- Find your image and select to insert into the book.
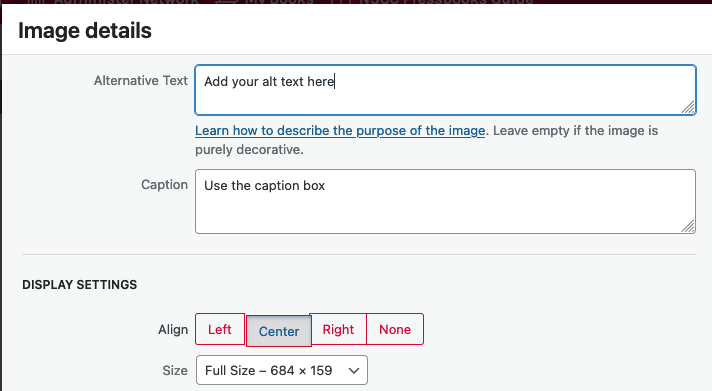
- Add your image caption using the image caption function.
- Add the credit and alt text for your image in Image Details.
- You can also adjust the alignment and size of your image in Display Settings.
Editing Your Image
Select the image to highlight.
- Alignment options and a Pencil become visible. See Figure 3.
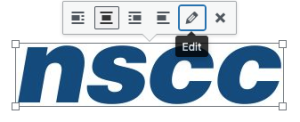
- Select the pencil to open the image edit screen.
- Add the alt text.
See next chapter on Images, Accessibility & Alt Text for information about making images accessible.
Adding Other File Types
- Upload PDFs, PowerPoint slides, Excel spreadsheets
- Benefit: The file is now stored inside the book – providing stable access.
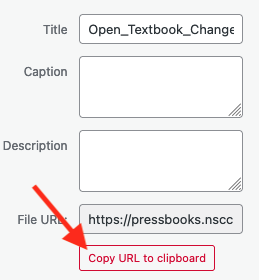
- Copy and use the internal URL.
- Readers will be able to click on the hyperlink and read or download the file.
The steps to add files and link to them:
- Click “Add Media” at the top of the Visual Editor in Pressbooks.
- Select the Upload Files tab and select the file you want to upload.
- Click “Insert into chapter.”
- The link text can be edited – remember to make it meaningful.
Optimize images for web and print
If your goal is to produce a book for both web and print delivery, image set up and placement must be considered. It is recommended that all images are centred and that image size is no more than 500 pixels wide and 600 pixels high.
Using a larger image can potentially push it to another page in the PDF—sometimes several pages away from its webbook position. One solution for this problem is to add page breaks to key spots in the book.
